Re-Use Old Windows With These Home Decor Tips
Mar 09, 2016 By Fenesta

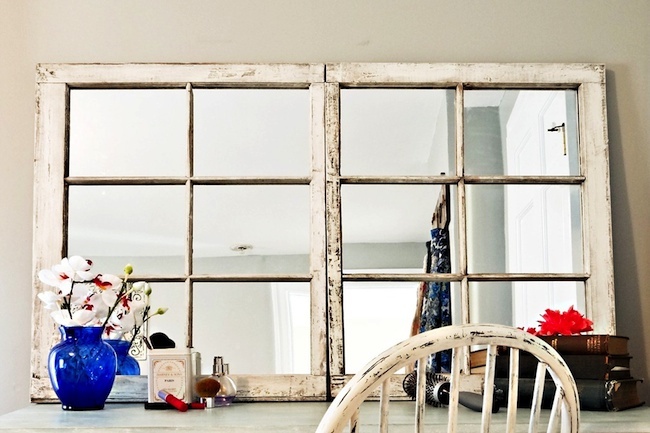
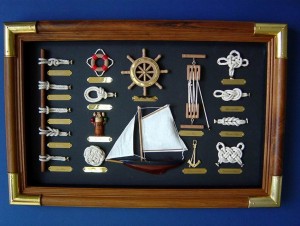
This might come as a surprise, but it’s very much possible to re-use old windows and/or their frames and convert them into, well, a lot of things. The list of possible creations is long and it includes photograph walls, artworks, shelves for cutlery or craft supplies, mirrors and even shadow boxes. The fact remains that as long as your creative juices are flowing, there’s no limit to what you can do with an old and busted window. Without further ado, here are 4 budget friendly ways in which you can repurpose your old windows and frames - 1. Use them as Mirrors It sounds a lot more difficult than it actually is. Windows are created with the purpose of having their glass panes replaced in case they get damaged, so removing the panes will not be a problem. All that you have to do is buy mirrors that fit perfectly within your window frame. And if that’s not possible, get them cut in the exact size from the shop you purchased your mirrors from. If you want something done to the frame (painting, polishing etc.), be sure to get it done before you start fitting the mirrors in it. After you’re done with the repurposing, you can hang your mirror in the bathroom, kitchen, bedroom or even the living room where it’ll bounce light around the room, making it appear bigger. 2. Create Fancy Photo Frames Sounds a little out there, but if you’re willing to put in the effort, then creating photo frames (or entire photo walls, depending on the size of the frame) is an exciting possibility. This is one of those DIY projects that requires a minimal amount of time and effort, but produces stunning results. All that you need to do is count the number of photos you require to paste onto the old window’s panes, get those images printed to the exact size of each of the individual panes and then just stick them to the glass with an adhesive like Fevicol. And that’s it, you’re done. 3. Shadow Boxes  For those of you who aren’t aware of it, a shadow box is a box with a front glass case that displays items arranged in a thematic manner. For this, a smaller window pane would work best, preferably without any smaller panes inside it. The first thing you have to do is find a thick and sturdy backside for the frame (like mount-board) and stick it to the frame with industrial glue. Next, collect items (or images) and think of a theme (nautical, wedding, baby shower, your favorite movie etc.) for your shadow box. Then, arrange those items on the mount-board and stick them with Fevicol or Feviquick. You can have 3 types of fronts for your shadow box – those that open (the ones that require installation of hinges which will have to be done by professionals), those that have a glass stuck firmly to the frame, and the third one with no pane i.e. an open shadow box. 4. Showcase gorgeous wallpapers and fabrics If you have old wallpapers, bed-sheets, pillow covers or even scarves and handkerchiefs which are too old to use but too pretty to throw away, then this is the ideal way to put them to good use! There are two ways of going about this project – you can either opt for a window with multiple glass panes to display your artwork as one piece, or you can use smaller frames to position your fabrics or wallpapers. Brainstorm and zero in on a theme to make your artwork appear more synchronized. This theme can be color based (example blue fabrics and wallpapers), design based (like floral or geometric patterns) or even texture based (cotton, corduroy etc.).


Comments